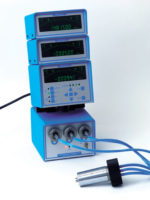
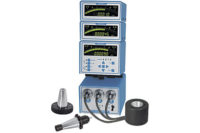
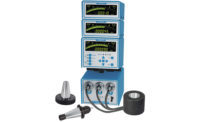
From Jenoptik Industrial Metrology comes a crankshaft journal surface finish gage that greatly reduces the time required to collect and assess measurement data of virtually any crankshaft, any of its journals. As automotive engines must become more efficient, journal surface finish specifications become more critical to engine performance.
Called a point of use gage by the company, the benchtop device is designed for use at the point of production, allowing manufacturers to check crankshafts immediately as they come off the grinders. Shafts can be checked as needed, an entire production run or a sampling.
Skidded probes trace the diameters as the journal rotates. The probe arm is fully protected from damage (see image).
The data is collected in seconds and can be immediately uploaded through Jenoptik’s proprietary Turbowave surface finish software which can process the data for myriad of uses, including Qdas and more.
In operation, the operator places any size crankshaft onto V-guides, locks the part into position and adjusts the articulating arm to the desired lateral measurement position, using a horizontal arrow pointer on the ruler guide mounted to the base of the device. An air lock allows easy movement or locks the slide in place. Next, the operator scissors the device “up and over” onto the designated diameter--pin, crank, post, pump, or seal diameter. Pressing the measurement button completes the measurement.
Previously, a journal surface finish measuring device would be laboriously repositioned using vertical and horizontal knob adjustments for each journal. The Jenoptik alternative measures a complete journal in “seconds,” compared to up to 30 seconds per journal.
Jenoptik Industrial Metrology
www.jenoptik.com


