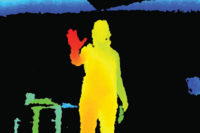
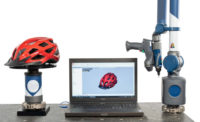
The EyeVision 3D image processing software has a special command set to scan profiles, to do meas-urements based on those profiles and check if there is an error on those profiles. As it is a 3D profile, this means that the point are not only captured in their x- and y-directions but also their position in z-direction. Therefore the scan can also generate a point cloud image in addition to the profile image. For this task a laser triangulation or stereo vision sensor is necessary. The laser line scans the object and a camera takes the image of the laser line and a profile is issued.
A profile measurement is important for various different applications for quality checks during the production process. When scanning a weld seam, it can be checked if it there are flaws in the seam, such as e.g. cracks, holes, inclusions, lack of fusion, incomplete penetration, deviation in dimension or shape, etc.
Also the quality check of adhesive beads are part of the applications of the 3D ProfileScanner. When applying a glue it is important to check if the application is constant and that there is no hole. A flawless adhesive bead is essential in various industries such as automotive, or electronic industries. A quality management during the production process is one of the crucial economy factors in the automated se-ries production.
The laser line captures the glue bead and the EyeVision 3D software calculates from these dimen-sions the width, height and area of the adhesive bead.
Additionally the ProfileScanner can determine the angle from a triangular object. And also the depths and widths of gaps can be determined with the ProfileScanner.
Also the EyeVision 3D software has various commands for evaluating and measuring in profiles as well as point clouds. The graphical user interface is easy to handle and the drag-and-drop function does allow the creation of inspection programs without programming skills.
EVT Eye Vision Technology GmbH
+49721 626905-82


