Home » Keywords: » liquid penetrant testing (PT)
Items Tagged with 'liquid penetrant testing (PT)'
ARTICLES
ASNT Column | Muriel Magloire
NDT plays a major role in preventing disasters and upholding safety standards.
Read More
NDT | Inspection
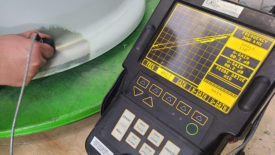
Nondestructive Testing (NDT) of Commercial Aircraft Wheels
The main flaws uncovered by NDT on the wheels are cracking, corrosion, geometrical distortion, and overheating.
January 15, 2024
Back2Basics
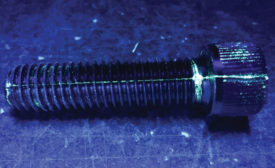
How the NDT Legacy of Liquid Penetrant Testing Continues to Thrive
Sometimes, The Old Dog Doesn’t Need to Learn New Tricks.
October 10, 2023
NDT | Back 2 Basics
Flaw Detection 101
Each NDT method has its advantages and disadvantages, so knowing what your flaws of interest are and where they tend to be located can be extremely helpful.
June 9, 2022
Promoting Nondestructive Testing to the Next Generation
It is up to NDT practitioners to spread the word about this important industry..
June 3, 2019
NDT Flaw Detection 101
We’re always faced with deciding which nondestructive testing method is the most appropriate for detecting a specific flaw type.
April 1, 2019
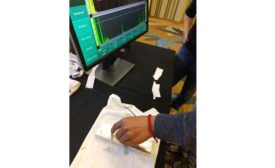
Faster, Better NDT: The Advantages of Eddy Current Arrays
Multi-coil arrays take eddy current technology many steps further.
August 1, 2017
Testing, Trust, and Traceability
You can often re-inspect a part, but there’s no way to restore lost traceability
August 1, 2016
Get our new eMagazine delivered to your inbox every month.
Stay in the know with Quality’s comprehensive coverage of the manufacturing and metrology industries.
SIGN UP TODAY!Copyright ©2024. All Rights Reserved BNP Media.
Design, CMS, Hosting & Web Development :: ePublishing
