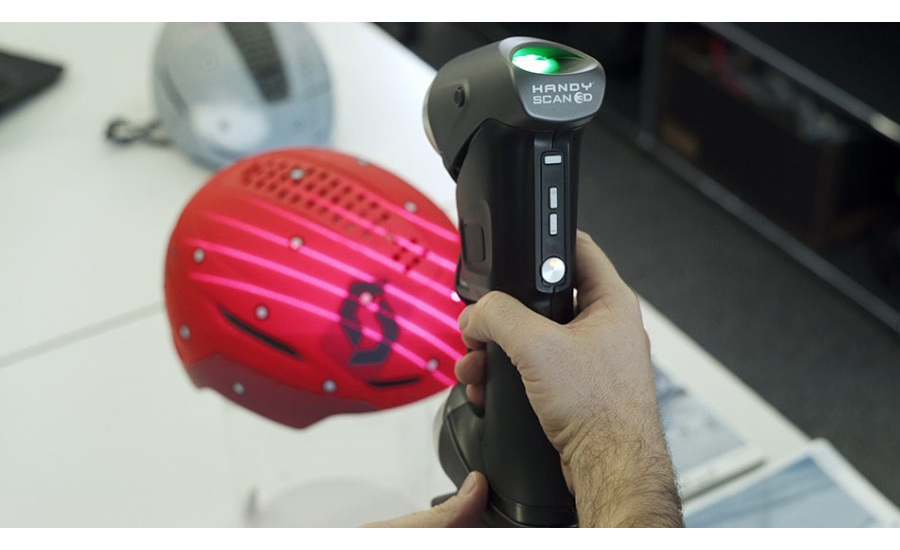
3D scanning is the process of digitally gathering an object’s surface data to determine its shape, enabling users to either replicate the part by reverse-engineering it, or inspect it through dimensional analysis.
To achieve this, operators use scanners that employ lasers, light, or sensors to detect the surface of the object being scanned and assigns data points to that surface. Those data points ultimately recreate the object. Depending on the type of laser, light, or sensor used, the level of detail and efficiency of making the scan can differ.
Read on for the most popular 3D scanning methods:
- Laser triangulation
- Structured light 3D scanning technology
- Photogrammetry 3D scanning technology
- Contact-based 3D scanning technology
- Laser pulse-based 3D scanning technology
Laser scanners project a laser line onto the surface of the object being scanned, which angled sensing cameras detect through a calibration process. While laser triangulation can create precise scans, it doesn’t always work on transparent or shiny surfaces.
3D scanning devices that use structured light also start with triangulation. This method uses a projector with two cameras at angles on either side. The sensing cameras examine light patterns projected onto the scanned object, and users can determine exact X-Y-Z coordinates from that data.
The projector in a structured light sensor produces a striped pattern of light that will change in size and direction during data collection. Sensing cameras notice this contrast and assign those pixels to X,Y,Z coordinates.
Structured light 3D scanning is a popular method of non-contact scanning in a variety of industries. Some say that its no-touch approach streamlines workflows and produces more accurate and rapid results than contact-based scanners.
However, some structured light technology is more effective than other types. For example, blue light scanners have narrower wavelengths than white light scanners, making them more resistant to ambient light.
Photogrammetry is the exercise of removing dimensional information from high-resolution photographs. Instead of using structured light or lasers, a camera takes images from various vantage points then uses software to bundle multiple 2D images together to develop a three-dimensional data set. This method is most often used with an optical 3D scanning system.
Users can perform photogrammetry with a handheld digital camera, or by using an integrated camera mounted on the end of a robot in an automated scanning cell. This produces a map of target locations that can then link together data.
Contact-based 3D scanning is more invasive than the aforementioned processes. It uses anprobe -- either stationary or roving -- to make contact with an object's surface. Software used with the probe will detect how and where the probe touches the surface and can record the 3D surface location.
This technology, also called time-of-flight scanning, uses the speed of light and sensors to measure surface geometry. In this method, millions of pulses are projected from the laser to the object’s surface, which are then reflected back to the sensor. The timing of the pulses from the laser back to the sensor permits the collection of surface data in this type of scan. A mirror rotates the laser and sensor hardware, which helps the software to collect 3D data.


