Companies that produce aerospace and power generation parts such as industrial gas turbine (IGT) engine components, hot gas path blades, and nozzle guide vanes apply a protective coating to turbine blades, enabling them to withstand the high temperatures they are exposed to while in operation. The thickness and microstructure of the coating must be evaluated during the application and throughout the blade’s lifespan to ensure its fitness for service. Aerospace and power generation companies can accomplish this analysis through destructive testing (DT) or nondestructive testing (NDT) techniques.
One DT method involves using electrical discharge machining (EDM) techniques to cut up blade sections for analysis with microscopy, providing a detailed look at the size and structure of coating layers. However, each blade can cost more than $1,000 to produce, and the typical requirement is to check one in 20 blades, making this method expensive, time-consuming, impractical for large volumes, and restricted to local analysis. A common NDT technique for this measurement is eddy current testing which uses electromagnetic induction to measure coating thickness by detecting changes in electrical conductivity caused by the presence of the coating. However, this approach is limited by the magnetic properties from which the turbine blades are made.
This predicament is common in the aerospace industry, where destructive and NDT methods are relied upon throughout a component’s lifecycle, from production to MRO. Used for analysis critical to quality and functionality, like coating thickness measurements and verifying the dimensions of the internal walls within blades, destructive techniques provide necessary information—at a high cost. Meanwhile, some NDT alternatives are limited by the application’s materials and provide limited information for the amount of effort required. Advanced 3D digitalization technologies offer a solution with a modernized NDT alternative that saves time and money and unlocks access to more information in a single measurement session.
Digitalization Of Coating Thickness Analysis With Accurate 3D Scanning
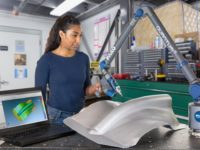
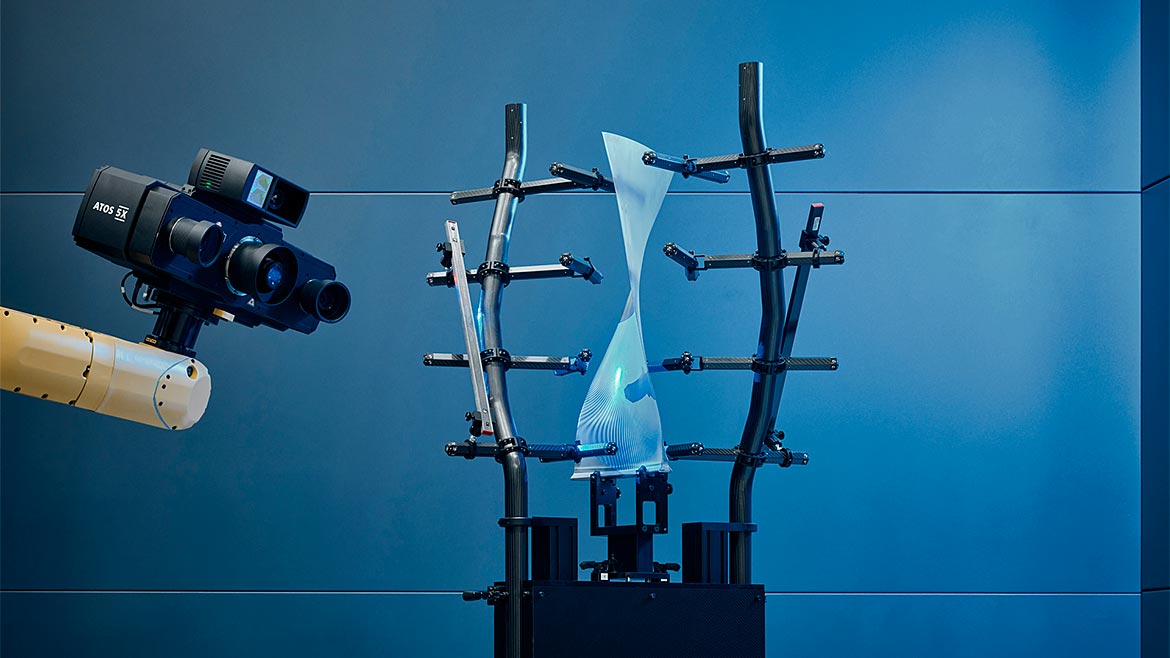
Another alternative to destructive testing for coating thickness analysis is the use of test coupons as standardized specimens that allow the analysis of localized data from a few areas of a blade. The test coupons are sent to a lab where technicians evaluate the cross-sectional thickness of the coatings. The lab’s analysis indicates the appropriate modifications to the coating application process. This process is repeated until the allowable thickness is achieved. One iteration of a coating project can take six weeks, and with some projects requiring multiple iterations, this becomes a lengthy development process. However, an accurate 3D scanner offers a fast and efficient alternative method of measuring blade coating thickness. Instead of waiting weeks for analysis from a lab, a 3D scanner collects measurements quickly, and advanced 3D metrology software evaluates coating thickness in seconds. The process is simple:
- The 3D scanner digitizes the blade before the coating is applied.
- After applying the coating, the operator uses the 3D scanner to digitize the blade again.
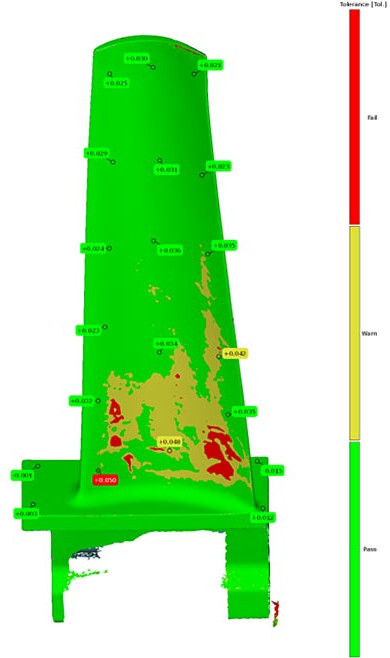
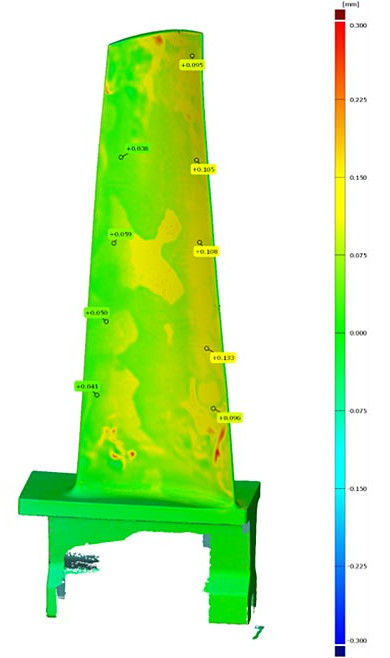
- The software compares the digitized files by creating a high-resolution 3D color map providing immediate feedback on coating thickness measurements.
- This interactive data visualization provides insight into making necessary adjustments to the coating application process to achieve the desired thicknesses and uniform surfaces.
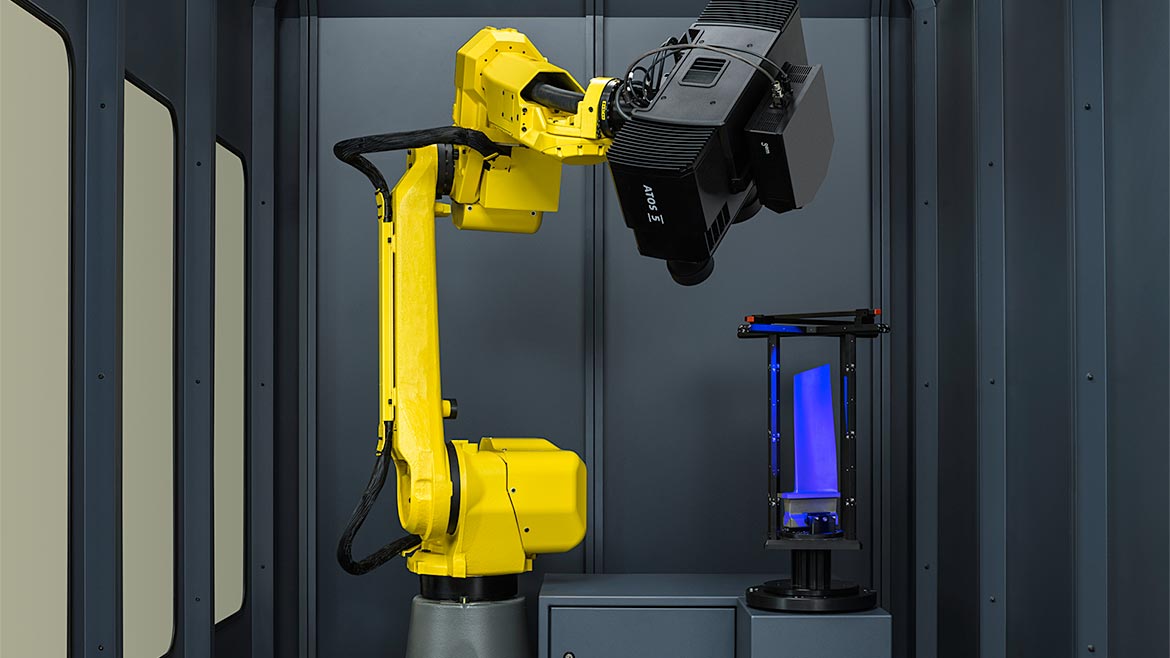
Digitizing this process offers many advantages over destructive and conventional NDT methods, in addition to speeding up the development process. Automating data acquisition and inspection further increases the speed and efficiency of this process. An operator can predefine a coating thickness measurement tolerance within the software to determine if a blade passes or fails, and the software can automatically generate pass/fail reports. Multi-layered coatings can also be analyzed as overall thickness and evaluated by individual layers in one report.
Digitalization For Nondestructive Analysis Of Internal Geometries
Another common application of destructive analysis involves inspecting internal structures within high-temperature blades. Gas turbines require an advanced ceramic core and superalloy investment casting to optimize cooling, performance, and durability. These low-flow ceramic cores have multi-walls and other complex design features. Quickly and accurately inspecting the dimensions of these internal walls without destroying them is a challenge.
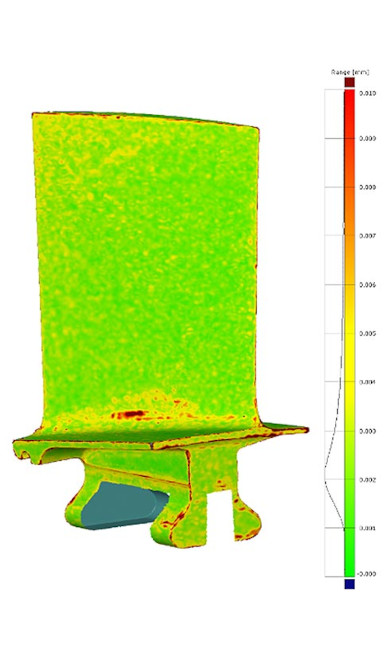
However, computed tomography (CT) for metrology offers a nondestructive method of inspecting internal walls and structures. CT scanners use X-ray technology to digitize internal and external geometries completely. 3D metrology software then uses that data to help identify core shift or other defects resulting from the casting process and accurately calculate critical measurements, including interior wall thicknesses, radial heights, and cooling flow passage diameters.
These internal inspections assist with identifying issues, validation, investigating discrepancies in production processes, and locating defects such as cracks and voids, helping to ensure critical components like blades are structurally and functionally sound. This actionable data helps to prevent failure and offers information that can be used beyond its original NDT purpose.
Data Analysis For Nondestructive Inspections
Conventional NDT methods generally only provide information about the part or material that meets the inspection’s intent, such as coating thickness, type and location of defects present. The time and effort it takes to perform some of these methods is greater than the information they provide. Advanced noncontact 3D scanning digitizes a physical object to create a full-field 3D mesh model that is useful to replace many conventional NDT methods and perform advanced inspections in 3D metrology software. For example, an accurate 3D scanner can digitize a nozzle guide vane. Then advanced 3D metrology software uses that data to analyze local effects in the mesh not visible in CAD deviations. The software can classify the defects by characteristics like size, area, and depth. This process is a fast and reliable replacement for visual inspections. Then, the software can use the same data to perform other advanced inspections, including GD&T analysis, mold validation, inspecting throat area between parts, and virtual assembly. Data from multiple parts can be compared and evaluated for trend and SPC (statistical process control) analysis to provide deeper process insights. Inspection results and the corresponding digital twin can be shared internally with other departments or vendors. The data can also be archived to recall when needed.
Advanced 3D scanning offers digitalization for nondestructive analysis that is fast and accurate. Evaluating a digital twin instead of a physical part can save thousands by preventing the destruction of blades and other high-value parts. Implementing automation increases this efficiency further, accelerating process development. Advanced 3D metrology software capabilities offer reliable and more efficient solutions to the limitations of conventional nondestructive methods. Noncontact 3D metrology technologies like 3D scanners and CT scanners remove the obstacles that different materials present to some conventional NDT methods, providing aerospace manufacturers more opportunities to be innovative.


