Home » Keywords: » ID and OD measurement
Items Tagged with 'ID and OD measurement'
ARTICLES
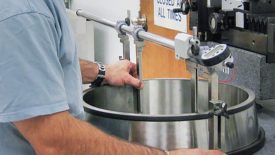
Diameter Measurement
As with any diameter measurement, there are several possible solutions.
Read More
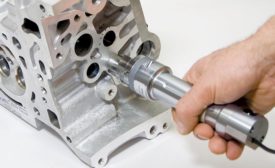
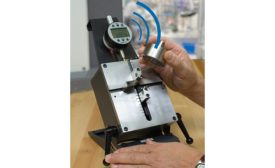
Standard Gage or Custom? How to Analyze Your Gaging Requirements
How to analyze your gaging requirements. Learn how to specify the gaging solution that provides the best results.
May 1, 2017
Stay in the know with Quality’s comprehensive coverage of
the manufacturing and metrology industries.
eNewsletter | Website | eMagazine
JOIN TODAY!Copyright ©2024. All Rights Reserved BNP Media.
Design, CMS, Hosting & Web Development :: ePublishing


