This website requires certain cookies to work and uses other cookies to help you have the best experience. By visiting this website, certain cookies have already been set, which you may delete and block. By closing this message or continuing to use our site, you agree to the use of cookies. Visit our updated privacy and cookie policy to learn more.
This Website Uses Cookies By closing this message or continuing to use our site, you agree to our cookie policy. Learn MoreThis website requires certain cookies to work and uses other cookies to help you have the best experience. By visiting this website, certain cookies have already been set, which you may delete and block. By closing this message or continuing to use our site, you agree to the use of cookies. Visit our updated privacy and cookie policy to learn more.
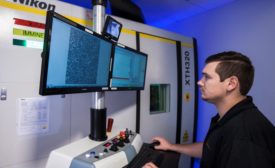
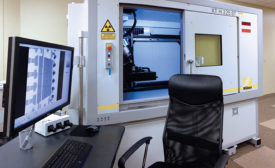
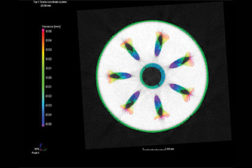
In the past, simple X-ray radiography was sufficient in providing an image needed for this inspection. However, because it views structures in 2D, simple radiography is limited in engineering applications as the objects become more complex. This is where computed tomography (CT) becomes valuable.
Almost every industry has seen explosive growth in additive manufacturing (AM or 3D printing) of metal components, either for prototyping or low to medium volume manufacture of often high value and safety critical parts.
Interest in 3D printing is remaking the manufacturing landscape. Consulting firm IDC says global spending on 3D printers, both desktop and industrial, hit about $11 billion in 2015 and is forecast to reach $27 billion by 2019.
Better understanding the rules of X-ray micro CT not only opens the door to production cost savings and productivity improvement, but also knowing when to break them can provide even further process flexibility.