This website requires certain cookies to work and uses other cookies to help you have the best experience. By visiting this website, certain cookies have already been set, which you may delete and block. By closing this message or continuing to use our site, you agree to the use of cookies. Visit our updated privacy and cookie policy to learn more.
This Website Uses Cookies By closing this message or continuing to use our site, you agree to our cookie policy. Learn MoreThis website requires certain cookies to work and uses other cookies to help you have the best experience. By visiting this website, certain cookies have already been set, which you may delete and block. By closing this message or continuing to use our site, you agree to the use of cookies. Visit our updated privacy and cookie policy to learn more.
Quality standards require that measuring equipment be calibrated prior to being put into service. In addition, the maintenance of measuring equipment requires recalibrations at regular intervals.
One would hope that once a calibration laboratory has been accredited by a recognized agency, you could take the uncertainties shown on their scope of calibration at face value.
About twenty years ago I was asked to make a presentation on calibration to a meeting of a local chapter of the National Conference of Standards Laboratories.
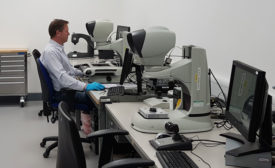
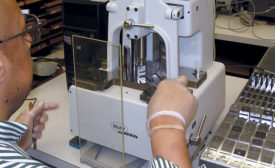
Vision Engineering, a 61 year old British leading designer and manufacturer of high-quality visual measurement and inspection technologies, has attained ISO 17025:2017 accreditation from UKAS and is now a UKAS accredited calibration laboratory No. 7706.
The fee-based program will certify an applying organization’s occupational safety and health products and services based on recognized voluntary national and international consensus standards.
The ISO certification auditing process can be daunting, especially if the auditor is going to be evaluating your company’s gage management processes based on data housed in your Excel spreadsheets or hand-written documents and note cards stuffed in three-ring binders.
The achievement of A2LA accreditation demonstrates an organization’s competence to manage and perform the activities defined by its Scope of Accreditation (A2LA Certificate # 4174.01).
The term ‘proficiency testing’ is one that every accredited calibration laboratory is quite familiar with. In basic terms it refers to a method of evaluating how well a laboratory is doing a particular calibration with respect to its claimed measurement uncertainty and how it fares with other participants.