This website requires certain cookies to work and uses other cookies to help you have the best experience. By visiting this website, certain cookies have already been set, which you may delete and block. By closing this message or continuing to use our site, you agree to the use of cookies. Visit our updated privacy and cookie policy to learn more.
This Website Uses Cookies By closing this message or continuing to use our site, you agree to our cookie policy. Learn MoreThis website requires certain cookies to work and uses other cookies to help you have the best experience. By visiting this website, certain cookies have already been set, which you may delete and block. By closing this message or continuing to use our site, you agree to the use of cookies. Visit our updated privacy and cookie policy to learn more.
Verisurf Software, Inc. is a measurement solutions company committed to delivering advanced model-based inspection, reverse engineering, and tool-building workflows.
Before we can talk about reverse engineering as an application, it is important to understand how and why it has emerged as a critical metrology tool for manufacturers, and how it fits in the rapidly evolving digital workflow. Just a few years ago, the term ‘reverse engineering’ was associated more with industrial espionage, stealing designs, or product features from competitors. What has changed?
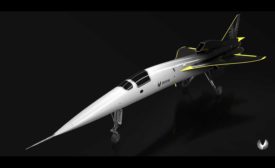
Boom Supersonic has its sights firmly set on the return of supersonic civilian air travel with the development of Overture, its 55-75 passenger, Mach 2.2 commercial airliner.
Today’s design and manufacturing world is quickly evolving to a model-based environment, one where intelligent 3D CAD models are the authority, containing not only the information to build a part or assembled product, but also to verify the end result against the nominal 3D CAD design.
How do you commit to realistic forecasts and timelines when resources are limited or gathering real data is too expensive or impractical? Can simulated data be trusted for accurate predictions? That’s when Monte Carlo simulation comes in.
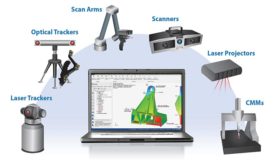
Quality inspection used to be a disparate process isolated in a lab. Today it is much more integrated with the production floor through in-process inspection and open CAD-based measurement software.
You hear a lot about Geometric Dimensioning & Tolerancing (GD&T) today, but less about its practical deployment and utilization in the manufacturing and inspection process.