This website requires certain cookies to work and uses other cookies to help you have the best experience. By visiting this website, certain cookies have already been set, which you may delete and block. By closing this message or continuing to use our site, you agree to the use of cookies. Visit our updated privacy and cookie policy to learn more.
This Website Uses Cookies By closing this message or continuing to use our site, you agree to our cookie policy. Learn MoreThis website requires certain cookies to work and uses other cookies to help you have the best experience. By visiting this website, certain cookies have already been set, which you may delete and block. By closing this message or continuing to use our site, you agree to the use of cookies. Visit our updated privacy and cookie policy to learn more.
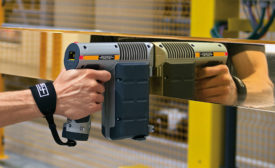
The FISCHERSCOPE® X-RAY XAN® 500 is lightweight and mobile for quick and accurate nondestructive coating thickness measurement and compositional analysis.
Calibration laboratories that receive the A2LA accreditation are held to the highest standards published by the Organization for Standardization (ISO) meaning that they meet requirements for competence of testing and calibration laboratories covered under ISO 17025.
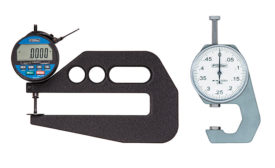
On the surface, thickness seems like an easy measurement to take, as dimensional measurements go. You have two big, flat, parallel planes on which to plant your gage.
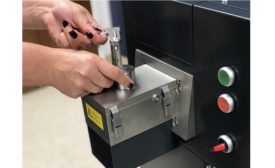
If an organization relies on accurate coating thickness measurements in its quality control process, then it is more than likely familiar with ED-XRF technology.
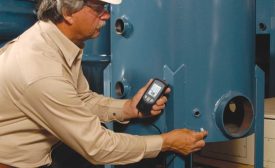
Develop a working knowledge of the test methods related to coating thickness measurement and the instruments available for both common and complex applications.