Home » Keywords: » ultrasonics
Items Tagged with 'ultrasonics'
ARTICLES
NDT | Ultrasonics
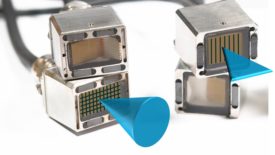
Compact design and automation are important aspects in meeting the inspection requirements of today and the future.
Read More
NDT | Phased Array
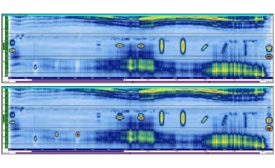
Phased Array Ultrasound (PAUT) vs Phase Coherence Imaging (PCI) for Pipeline Inspection
One of PCI’s main strengths is detecting cracks that are vertical to the surface of the component.
October 3, 2023
NDT | Back 2 Basics
Gigacycle Fatigue Testing of Metals Using Ultrasonic Resonance
Fatigue testing is a well-known technique to help predict the long-term performance of materials.
August 15, 2023
Aerospace | Phased Array
Phased Array Ultrasonic Testing: A Tutorial
While PAUT is becoming a popular approach for nondestructive inspections, it is important that users understand this technology, its limitations and how it should be applied.
July 11, 2023
Quality Headline
Blackstone-NEY Ultrasonics Announces Second Manufacturing Facility
February 22, 2023
Test & Inspection
How a Shrinking Workforce Affects Testing and Inspection in NDT
As the pandemic and advances in technology impact the field, education and training remain paramount — especially for newcomers.
December 30, 2022
NDT Trends
Nondestructive Testing (NDT) Trends
Manual means of performing NDT and human evaluation of the results is trending more and more to automated, digitized and artificial intelligence interpretation of the results whenever economically possible.
October 10, 2022
NDT | Ultrasonics
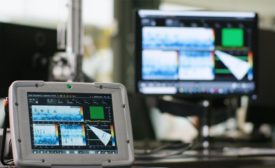
Automated Inspection of Wind Blades Using a Collaborative Robot
Improve the nondestructive inspection workflow using the latest technology.
April 1, 2022
A New Angle on Aerospace FSW Inspections
The most effective inspection method for friction stir weld flaws is phased array ultrasound.
July 1, 2020
Easing the Inspection Task
Recent developments in various NDE modalities are making inspection more accurate and faster while providing data that is easier to interpret.
June 10, 2020
Get our new eMagazine delivered to your inbox every month.
Stay in the know with Quality’s comprehensive coverage of the manufacturing and metrology industries.
SIGN UP TODAY!Copyright ©2024. All Rights Reserved BNP Media.
Design, CMS, Hosting & Web Development :: ePublishing
