Home » Keywords: » precision measuring systems
Items Tagged with 'precision measuring systems'
ARTICLES
Laser trackers have applicability across the manufacturing lifecycle.
Read More
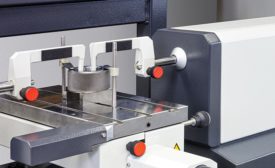
Benefits of Automating the Calibration Process
As with any measurement process, reducing the influence of the human element helps improve the results and reduce the measurement uncertainty.
August 3, 2020
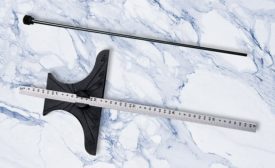
Food for Thought Regarding Depth Gages
Attempting to create a precision machine or product without taking accurate measurements is like trying to cook a great meal without measuring as you go along.
July 1, 2019
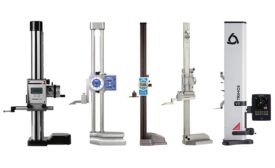
Height Gages 101
The height gage has supported the work of inspectors and machinists around the world.
May 14, 2019
Get our new eMagazine delivered to your inbox every month.
Stay in the know with Quality’s comprehensive coverage of the manufacturing and metrology industries.
SIGN UP TODAY!Copyright ©2024. All Rights Reserved BNP Media.
Design, CMS, Hosting & Web Development :: ePublishing


