Fine-tune Your Borescoping Skills
Your results will be even better if you employ a few simple but important techniques.
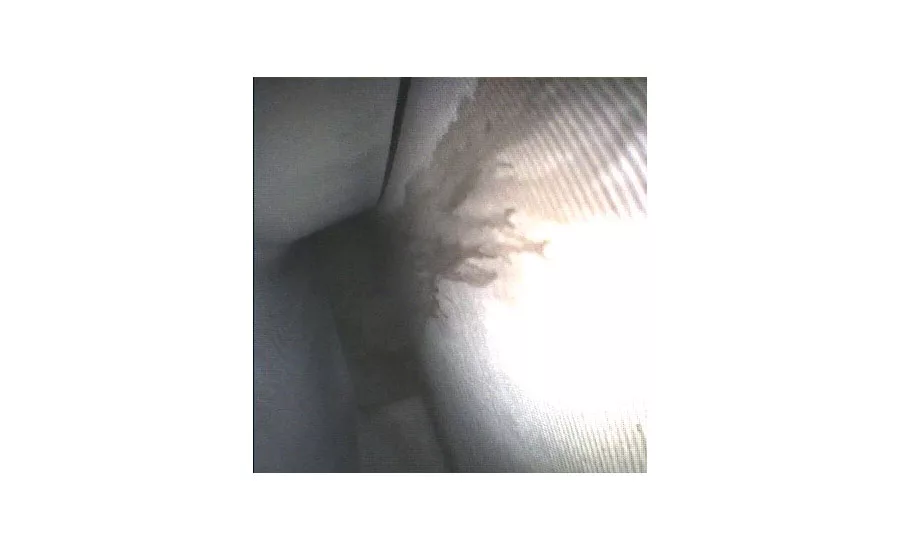
Light washout – Point the camera and LEDs away from the sidewall and down.
Advancements in borescope technology over the past ten years have helped to facilitate the wider adoption of these instruments throughout many organizations. These advancements have come in three general areas:
- Higher resolution image sensors and brighter LEDs, leading to improved image quality.
- Ergonomic designs and intuitive controls, which improve ease of use.
- Lower prices.
These three factors have combined to allow broader use of highly-capable borescopes at all levels of manufacturing, from development-stage testing and QC, all the way through to production floor QC and finished goods validation.
As with many rapidly improving technologies, however, it is sometimes easy to become complacent and expect the machine to do the work of the technician. We are all familiar with the stories of drivers who end up in a lake or in the wrong state because they shut off their brains and relied on a “nearly perfect” GPS to determine their route. While borescope technology is definitely a lot more useful—and user-friendly—than it was ten years ago, your results will be even better if you employ a few simple but important techniques that will improve every image you take with your scope.
Many of the following borescope usage tips will sound familiar to anyone who dabbles in photography, which should come as no surprise, since a borescope is, essentially, a very specialized type of camera designed for a unique task.
Tips for ‘Scoping Like a Pro:
1. Use the right tool for the job. Who among us, in a pinch, hasn’t used a wrench as a hammer or a knife as a screwdriver? This tactic rarely works out well, so don’t make the same mistake with your borescope. Answering these three basic questions will allow you to select the right scope for your job, which in the end will save you time, money and frustration:
a. How long does the insertion tube need to be to reach the farthest point that I need to inspect?
b. What is the narrowest diameter along the inspection pathway?
c. Is the pathway straight or will I need to make one or more turns to complete my inspection?
Once you know the answers to A. and B., choose a borescope with the shortest length and thickest diameter insertion tube that will meet these requirements. Why? Because durability and image quality increase with thicker diameter and shorter length insertion tubes, while acquisition and repair costs decline. As for C., if you will need to steer the insertion tube down a tortuous passageway, select a scope with joystick articulation control, which makes it much easier to steer in and out of the inspection area.
2. Now that you have the right borescope in your hands, you’re almost ready to start. Before beginning an inspection, however, be sure to check the camera lens for dirt, dust or grease. Remember, these are very small camera and lens systems and you are inspecting a small and cramped area. It doesn’t take much debris on the lens to adversely affect image quality.
3. Start out with the LEDs turned all the way up to their brightest position. You will likely end up backing the LEDs down to a lower level once you are honed in on your area of interest or inspection target, but first you need to find your inspection target, and going in with the LEDs on High will help you do this as quickly as possible.
4. If your scope has a Gain setting, you may also want to adjust this setting to its highest level when starting out, especially if you are inspecting a component with a large internal diameter.
5. After you have begun your inspection, take a moment to orient yourself within the component. Look for and identify an internal feature that you recognize and get a general feel for where you are inside the component and where you need to move directionally in order to reach the area of interest. This may seem obvious, but we have seen many technicians become frustrated if they don’t immediately find what they are looking for within ten seconds of beginning an inspection. Remember, your borescope can be steered up, down, left and right, and be pushed and pulled forward and backward. This lends great capability to your inspection process, but it also means that it may take more than a few seconds to get visually oriented inside the component. Adding to this difficulty is the fact that, if your insertion tube has made one or two turns on the way to your inspection target area, up, down, left and right may no longer correspond to what you think they should.
6. Once you have oriented yourself inside the component and have identified your inspection target, you can make adjustments to the LEDs and Gain control as necessary to avoid bright-light washout and glare. While making these “fine tune” adjustments, very slowly move the insertion tube just a few centimeters in and out while moving the joystick articulation controller a few degrees at a time. This will help you determine the optimal camera distance and viewing angle that will provide the best image of your target area.
7. Remember that the camera will focus on the nearest object within the field of view, blurring anything further away. Be sure there is nothing in between your viewing target and the camera.
8. If you see a defect, you can quickly estimate its size by using comparative measurement. With this technique, the size of an area of interest is estimated by comparing it to another object or feature of known size that is in the same field of view. For example, if you see a perpendicular crack that runs ¾ of the way through an orbital weld, and you know the weld is 8.0mm thick, you can guesstimate that the defect is 6.0mm long.
9. When conducting your inspection, and especially when you want to capture images or video, make sure you hold the insertion tube (and the test object, if applicable) as steadily as possible. Any shaking or movement of the insertion tube or test object will more often than not result in a blurry image. Resting the hand that holds the insertion tube on a solid surface can help with stabilization and improve image quality.
10. Take at least three photos every time you see something of interest. Modern borescopes capture digital images that are typically stored on internal memory cards that hold thousands of pictures. By getting into the habit of taking at least three images every time you need to document a condition you are viewing with your scope, you can be confident that one of the images will be better than the rest and adequate for your records or documentation purposes. It is much easier to delete unwanted or extra images than it is to go back a second time to borescope your component after determining that your first and only saved image was not of adequate quality.
Visual inspections are most often the best way to assess quality at every step of the manufacturing process. By using a borescope to conduct nondestructive internal visual inspections of your product or process, you can raise your QC to the next level and deliver a better product to your customers. As with most tasks in QC, there are good, better and best practices and we have found that it doesn’t take any longer to do a borescope inspection “the right way” than it does to do it “the wrong way.” Take the time to learn these best practices for borescope usage and in the long run, it will save you time and money and will improve your QC outcomes.
Looking for a reprint of this article?
From high-res PDFs to custom plaques, order your copy today!


