Home » Keywords: » multisensor systems
Items Tagged with 'multisensor systems'
ARTICLES
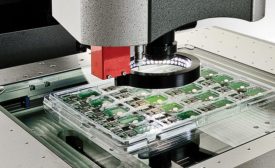
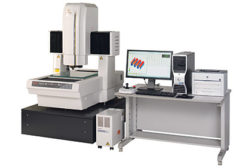
Advancements in multi-sensor platforms combine the best features of vision and touch-probe inspection for maximum accuracy and speed.
Read More
Multisensor: Make It Part of the Process
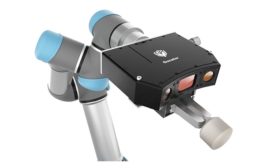
Advanced multisensor measurement systems can become an integral part of an Industry 4.0 process at any level.
October 1, 2018
Solving 3D Measurement Challenges Posed by Reflective Surfaces
Confocal white light provides an alternative to traditional laser scanning, allowing for non-contact measurement of shiny and translucent parts.
June 1, 2018
A New Era for Multisensor Measurement
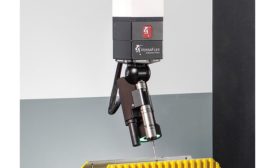
Consider how manufacturing processes have been improved by using multisensor measurement.
January 1, 2015
Test & Inspection
A Turn for the Better: Advances in Multisensor Systems
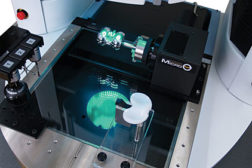
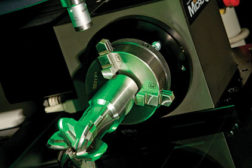
Multisensor systems allow complex parts to be easily measured in one setup using the best sensor for each measurement situation.
October 1, 2013
Get our new eMagazine delivered to your inbox every month.
Stay in the know with Quality’s comprehensive coverage of the manufacturing and metrology industries.
SIGN UP TODAY!Copyright ©2024. All Rights Reserved BNP Media.
Design, CMS, Hosting & Web Development :: ePublishing
