This website requires certain cookies to work and uses other cookies to help you have the best experience. By visiting this website, certain cookies have already been set, which you may delete and block. By closing this message or continuing to use our site, you agree to the use of cookies. Visit our updated privacy and cookie policy to learn more.
This Website Uses Cookies By closing this message or continuing to use our site, you agree to our cookie policy. Learn MoreThis website requires certain cookies to work and uses other cookies to help you have the best experience. By visiting this website, certain cookies have already been set, which you may delete and block. By closing this message or continuing to use our site, you agree to the use of cookies. Visit our updated privacy and cookie policy to learn more.
The moral to the story is that the best way to overcome obstacles and/or achieve success is to seek out those who have overcome the same barriers and succeeded. In other words, the key is asking the right questions of the right people.
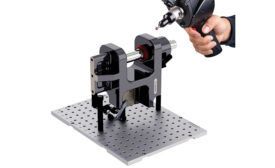
Work holding fixtures for inspection devices have evolved over time and now have become, in some cases, as complex as the parts they are designed to hold. There was a day when some 1-2-3 blocks, knee blocks, double-sided tape and hot glue were all you needed to fixture parts for measurement on a coordinate measuring machine (CMM).
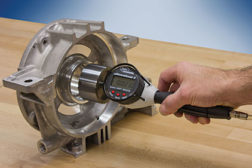
In the production environment, where tight tolerances are a way of life, it’s critical to think about gaging requirements before putting instruments out there and possibly having them not meet expectations.