Articles by Edward McMenamin
Users from electronics manufactures to paleontologists see benefit of nondestructive inspections.
Read More
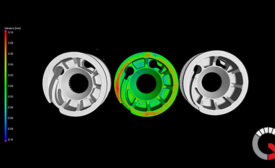
Using CMMs for Surface Finish Measurement
Advancements in motors and sensors improve CMM surface measurement capabilities.
June 15, 2018
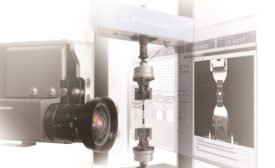
Back to Basics: Material Testing Carbon Fiber Reinforced Plastics
An expert explains how to transition from testing polymers and metals to CFRPs.
June 1, 2018
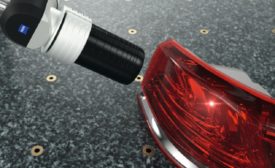
Solving 3D Measurement Challenges Posed by Reflective Surfaces
Confocal white light provides an alternative to traditional laser scanning, allowing for non-contact measurement of shiny and translucent parts.
June 1, 2018
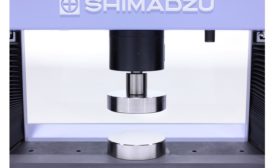
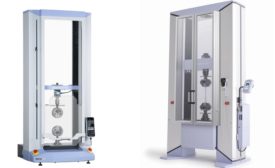
Back to Basics: Compressive Testing for Rigid Plastics
An expert discuses compressive test methods and ASTM D695.
May 1, 2018
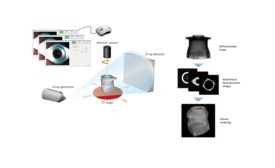
Computed Tomography Analysis Techniques
Industrial computed tomography cuts deep for applications beyond just porosity analysis.
April 2, 2018
Getting Inspection Right the First Time
How to decide whether to contract measurement services when 100% inspection is required.
March 29, 2018
Back to Basics: Flexural Testing for Plastics
A look at flexural test methods and ASTM D790
March 1, 2018
Get our new eMagazine delivered to your inbox every month.
Stay in the know with Quality’s comprehensive coverage of the manufacturing and metrology industries.
SIGN UP TODAY!Copyright ©2024. All Rights Reserved BNP Media.
Design, CMS, Hosting & Web Development :: ePublishing
