This website requires certain cookies to work and uses other cookies to help you have the best experience. By visiting this website, certain cookies have already been set, which you may delete and block. By closing this message or continuing to use our site, you agree to the use of cookies. Visit our updated privacy and cookie policy to learn more.
This Website Uses Cookies By closing this message or continuing to use our site, you agree to our cookie policy. Learn MoreThis website requires certain cookies to work and uses other cookies to help you have the best experience. By visiting this website, certain cookies have already been set, which you may delete and block. By closing this message or continuing to use our site, you agree to the use of cookies. Visit our updated privacy and cookie policy to learn more.
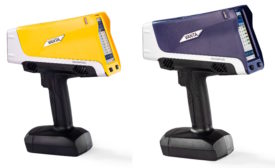
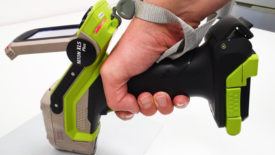
X-ray fluorescence (XRF) spectrometry is a useful technology to measure the thickness of metal layers. Handheld XRF is an indispensable tool in quality assurance.
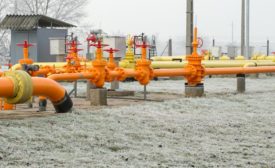
Across just about all industries that have tanks, piping upon supports or piping entering the ground, clients are faced with inspection challenges and specific concerns on how to inspect the critical areas of these three asset components.
The aerospace industry uses nondestructive testing (NDT) methods quite extensively. The structural integrity and safety of nearly all components, especially the most critical ones, needs to be validated and NDT plays a major role. NDT is required in virtually all areas of newly manufactured, serviced, repaired, or overhauled inspections.
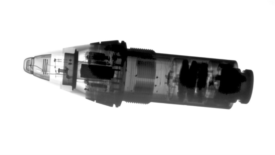
Air cooling is the most readily available means for keeping turbine blades from breaking or melting while the engine is running, and in order to get the most from the air streaming through the engine, turbine blades are cast with delicate cooling channels running through them. In the manufacturing process, though, these channels can become clogged. It's important that these defective blades be screened out as thoroughly as possible in quality assurance, and neutron radiography is the most effective nondestructive testing method for this purpose.
Digital radiography is the future. Read about the most common modalities, computed radiography (CR) and digital detector array (DDA) radiography, that are replacing traditional film-based inspections.
When Wilhelm Rontgen discovered X-rays in the 1890s, he almost immediately discovered the imaging applications of this hitherto-unknown type of radiation, and experts in the medical community and the industrial nondestructive testing community rapidly seized on the potential this new science of radiography offered.
While x-ray inspection of electronics has existed for several decades, the continuous shift in electronics design and manufacturing to smaller, more dense products, is driving x-ray technology forward.
Radiographic inspection is a critical practice across multiple industries, and the development of non-film radiography provides enormous, yet currently untapped, potential to share these images widely and maximize resources.
In the automotive industry, quality control/assurance has often focused on the physical testing and evaluation of raw materials and finished products. From a safety perspective, it is imperative that the strength of these materials and products meets established standards. Tensile, compression, bending and hardness tests are used for these evaluations.
Medical device implants have become increasingly more complex over time as technology has progressed into providing a new way of construction by the means of 3D printing, also known as additive manufacturing.