Home » calibration
Articles Tagged with ''calibration''
Quality Headline
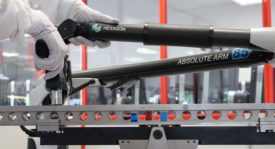
Hexagon’s Manufacturing Intelligence Opens Canadian Calibration Laboratory in Oakville, ON
May 2, 2022
Measurement
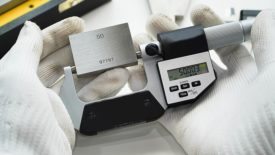
Calibration: Does My Gage Pass Or Fail? A How To Guide
Simply stating that your gage passed or failed a calibration does not tell the whole story.
April 1, 2022
Software & Analysis
Manual Data Entry And Its Effects On Quality
Let's look at the scary truth behind manual data entry as it relates to the calibration process.
February 1, 2022
Software & Analysis
Using Simple Linear Regression For Instrument Calibration?
Learn why orthogonal regression is a better approach.
January 8, 2022
Column | Hill Cox
Other Dimensions: DIY Gage Calibration: A Primer for Management
One of the hardest parts of doing your own gage calibration is having the right personnel to do the work.
November 15, 2021
Quality 101
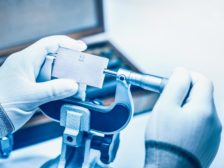
Calibration 101: It's An Important But Often Overlooked Aspect of Quality
November 1, 2021
Column | Hill Cox
Other Dimensions: Settling Measurement Disputes
Not all parties to a dispute understand the importance of uncertainty budgets.
October 8, 2021
Column | Hill Cox
Other Dimensions: No Quote!
When you're fooling around with millionths of an inch, it doesn't take much to miss the target.
September 8, 2021
Get our new eMagazine delivered to your inbox every month.
Stay in the know with Quality’s comprehensive coverage of the manufacturing and metrology industries.
SIGN UP TODAY!Copyright ©2024. All Rights Reserved BNP Media.
Design, CMS, Hosting & Web Development :: ePublishing


